

Web API Features
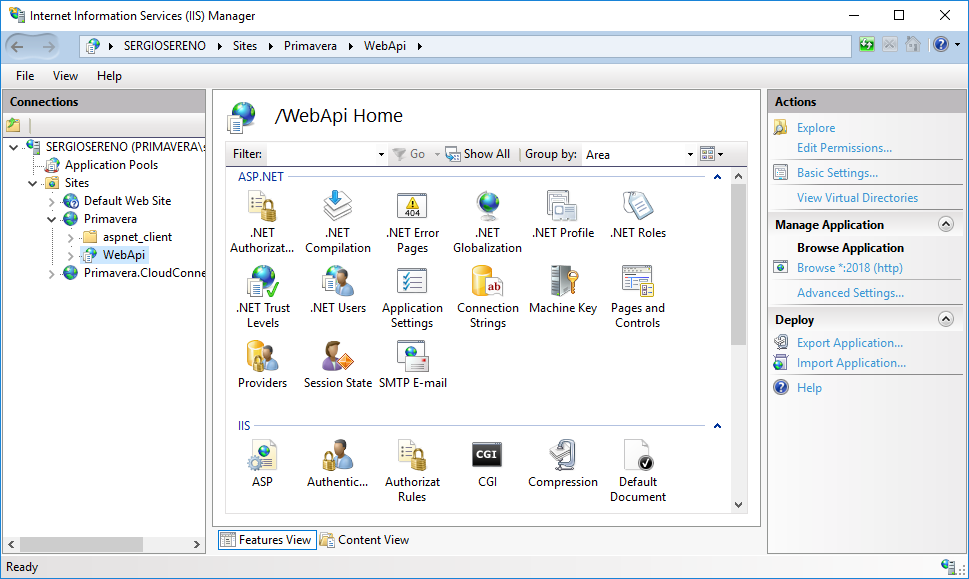
The Web API of version 10 of the PRIMAVERA ERP has several specific characteristics that you should know before starting to use it, and that will be shown below. Before starting, you must have the WebAPI module installed and the IIS server configured and running. The Web API always runs on a local server, that is, on the client's infrastructure. Another particularity of the Web API is that it does not necessarily need to be installed on the same machine as the PRIMAVERA ERP. You can install the Web API on a dedicated server. You will only need to modify the 'ERPInstalationPath' key in the Web.Config. The Web API provides service endpoints in a specific route format. All routes are built similarly to the API to simplify the understanding of the various resources. URL: The route always has the same structure, with the following variable elements: Example: On the ERP administrator, you can control the access to services existent on the Web API, taking into consideration the role definitions assigned to the user. The Web API requires all requests to be authenticated. The authentication method used is the OAuth 2.0 standard. In practice, Web API requests should be preceded by a call to an endpoint that will authenticate the user and the application. This is the endpoint: The parameters are: The response to this request will provide the redirect link for the endpoint with the authentication data: These details must be used in the following Web API requests by adding the following headers:Installation
Web API Endpoints
http://localhost:2018/WebApi/{module}/{entity}/{service}/http://localhost:2018/WebApi/Base/Clientes/Actualiza
Authentication
http://localhost:2018/WebApi/token